INSTALLATION BEST PRACTICES
Jump to a Section:
Display
The display, or monitor, is the focal point of every video meeting. Its position in the meeting space is therefore key, both for the people in the room and for remote participants..
Display Count
DISPLAY COUNT
For huddle rooms and small meeting spaces, a single flat-panel display is sufficient.
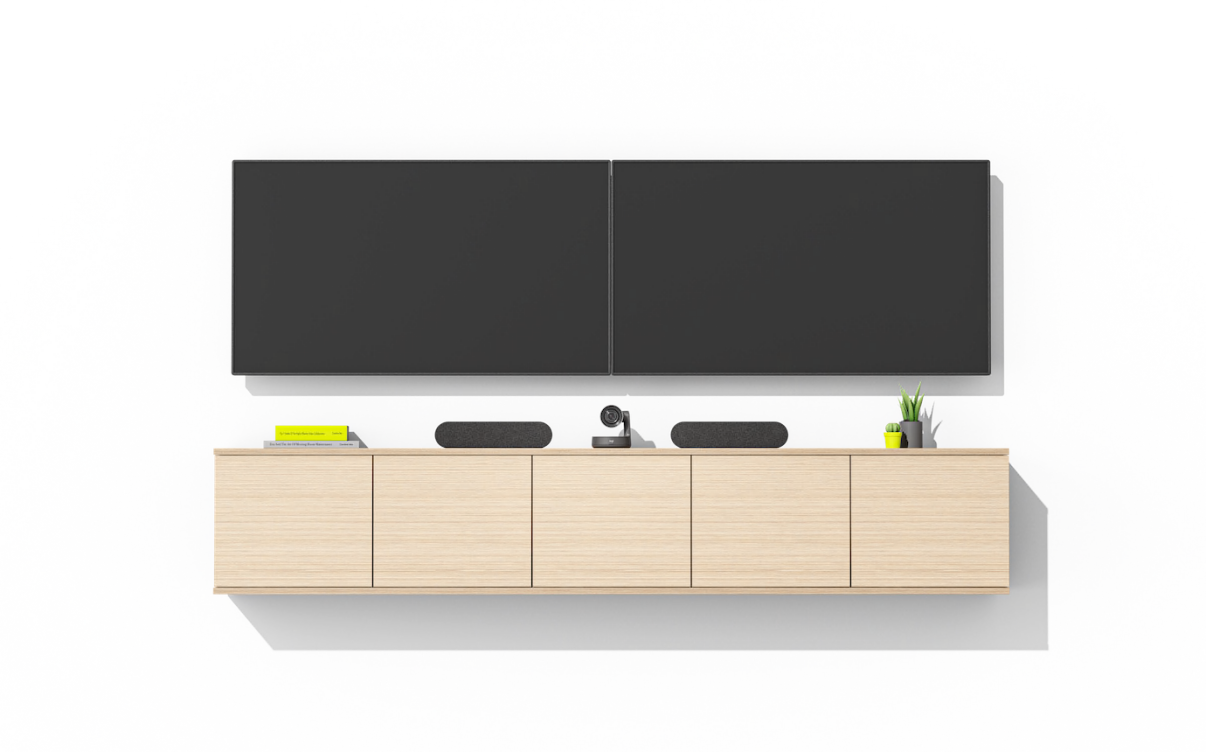
For larger rooms, consider installing two screens to display remote participants on one and shared content on the other.
Cameras are typically situated just below or above the screen; with dual displays, place the camera at eye level between the two screens.
Display Size
Display Size
If you’re using one display, it should be large enough to show both camera video and content video at resolutions at which text is easily readable
How to determine the optimal display size:
Measure the distance between the wall where the display will mount and the furthest seating position
Divide the distance to the furthest position by 4; this is the recommended minimum height of the screen
Multiply the screen height by 1.8 to determine the diagonal size, which is the dimension given for display sizes
Mounting Options
Mounting Options
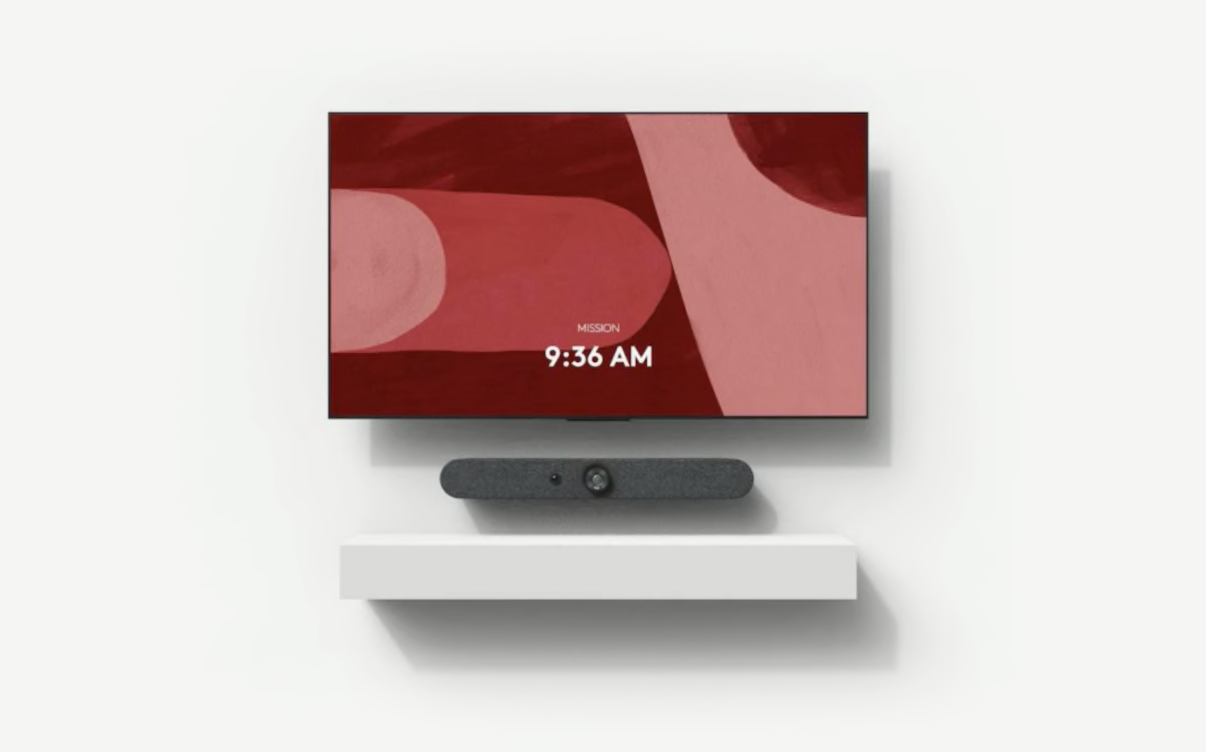
Consider camera placement when installing displays – ideally both the display and the camera should be close to eye level or slightly above for seated participants
Eye level is relative to the seating in the room; for standard seating this is 46-50” (116-127 cm) on average
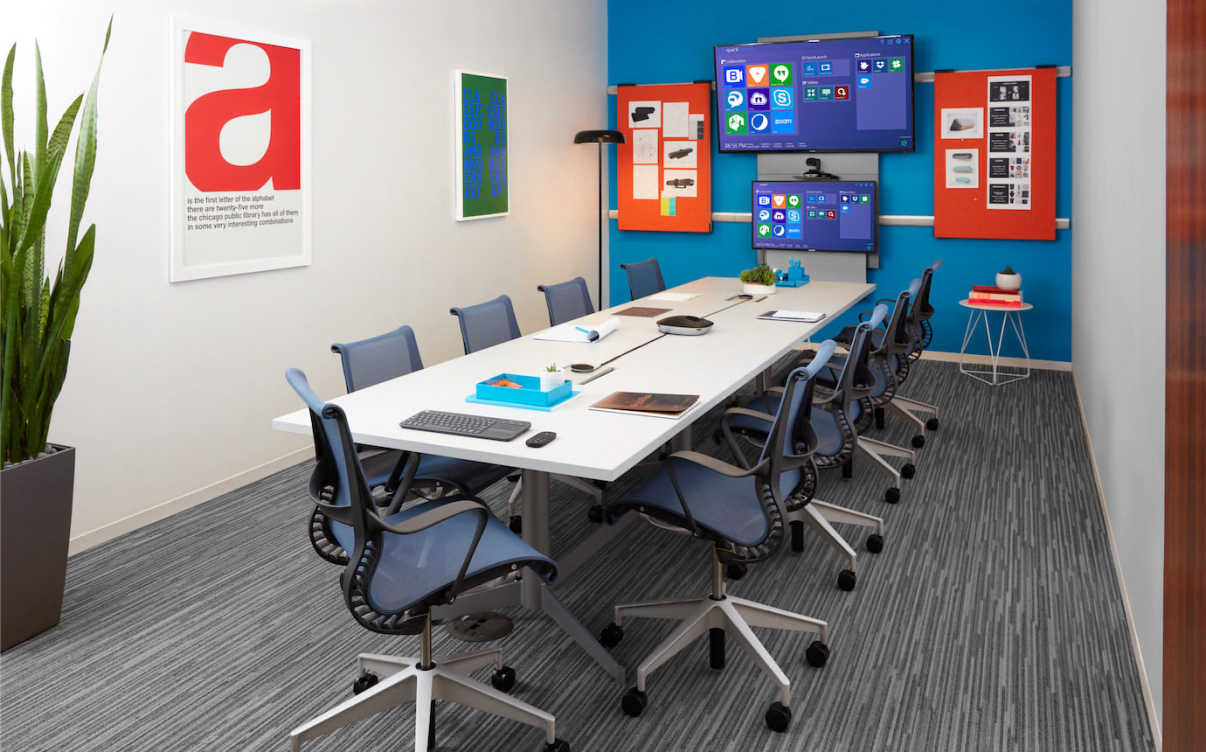
Dual displays can be positioned either horizontally or vertically; for horizontal mounting, place the displays so that the center of the table aligns with the gap between the two displays
An additional advantage of dual displays is it allows a PTZ camera to be placed at eye level between the two screens.
When mounting a camera above a single display, the bottom of the display should be as close to the surface height of the table as possible.

Display Carts
Display Carts
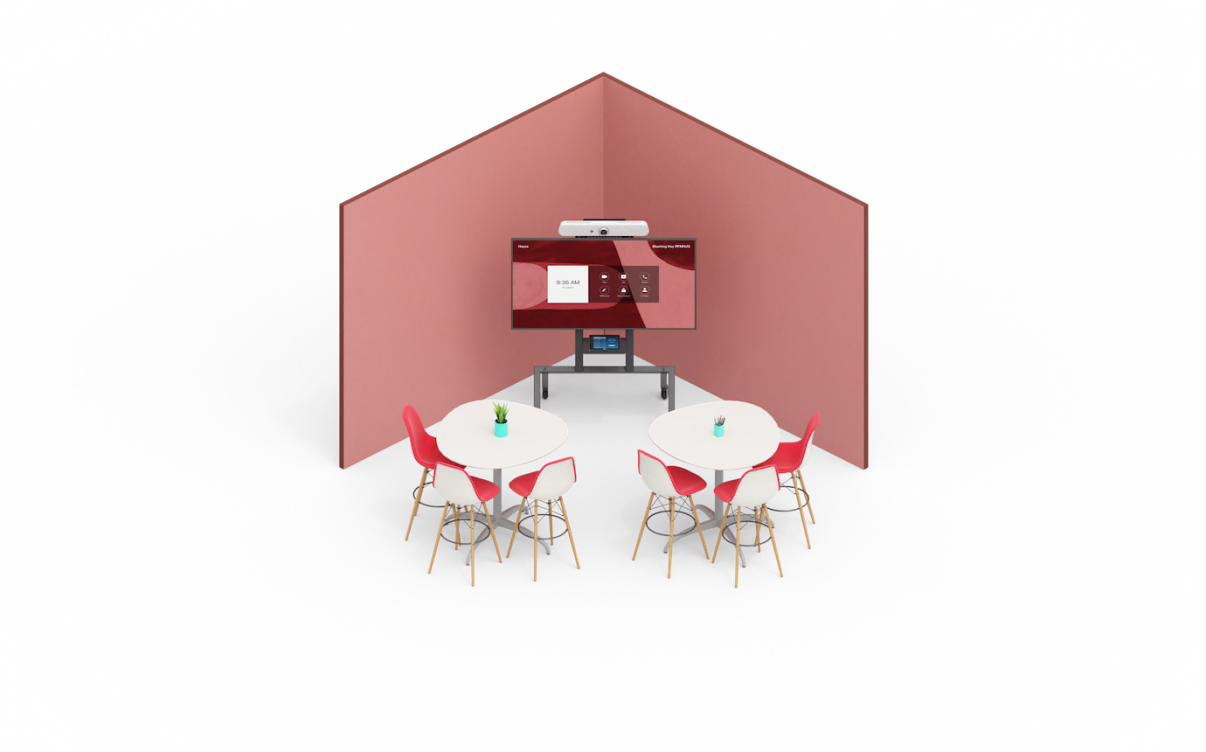
Mobile display carts can add portability and flexibility, allowing video meetings to be held in more locations
Use mobile carts to create workshop rooms or “brainstorm spaces,” open areas outside of meeting rooms where small groups can gather for ad hoc video collaboration
Stationary carts are a good option in spaces where it is impractical or impossible to permanently install displays and other equipment
Secure the gear to the cart with Kensington locks and optional locks for any storage drawers and door
Video Settings
Video Settings
Review each display’s settings during installation, including display resolution, color saturation, and brightness /contrast
By default, displays often have settings that attempt to optimize video and audio for television; these settings should be disabled or set to the lowest level where disable is not an option
If there is a video setting labeled “Game Mode,” it will usually provide the best performance with the least processing

Interactive Displays
Interactive Displays
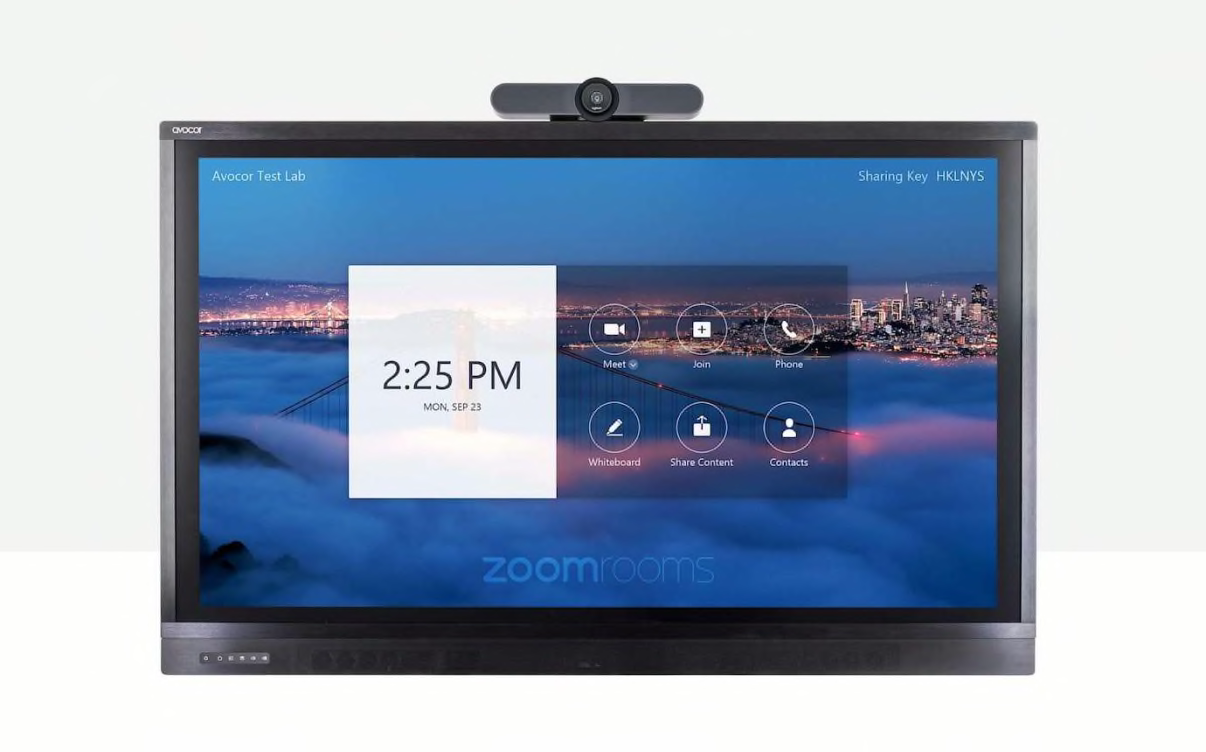
For enhanced collaboration, you may want to use touch-enabled video screens (or interactive displays)
Choose interactive displays for brainstorming and whiteboard use; digitizing notes, illustrations, and other work; and saving collaborative sessions
Multiple cloud-based video meeting platforms now support interactive displays for real-time annotations, content sharing, and meeting controllers
CAMERA
The conference camera should be positioned at a height, distance, and viewing angle that allows remote participants to see everyone in the room and provides an excellent experience for remote meeting participants. Enterprise-grade conference cams typically include standard features like 4k HD resolution, wide field of view, and pan/tilt /zoom (PTZ) capabilities.
Angle & Height
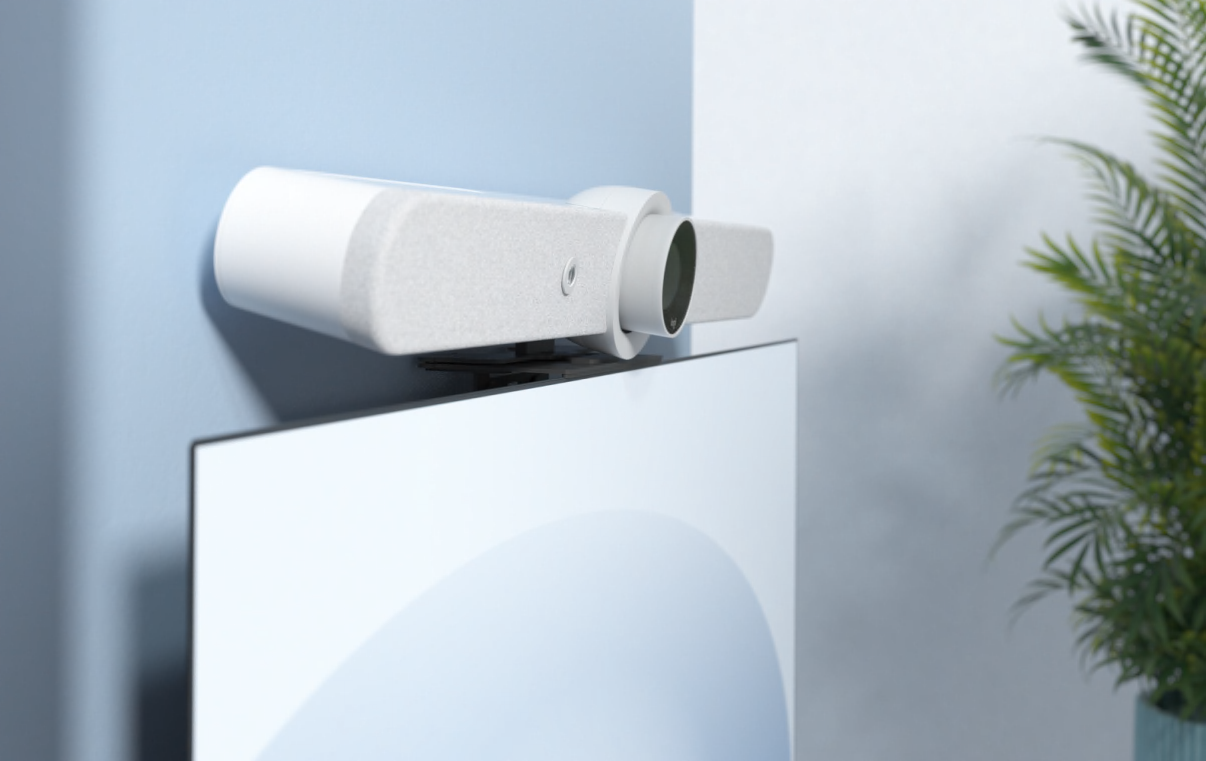
Angle & Height
If possible, position the camera at eye level, which provides the most natural orientation for face-to-face collaboration
The video performance may be diminished if the camera is positioned too high or too low relative to meeting participants
When it’s not possible to place the camera at eye level – for example, when it’s mounted above or below a single display – select a camera with motorized pan and tilt to help adjust the viewing angle
Room Coverage
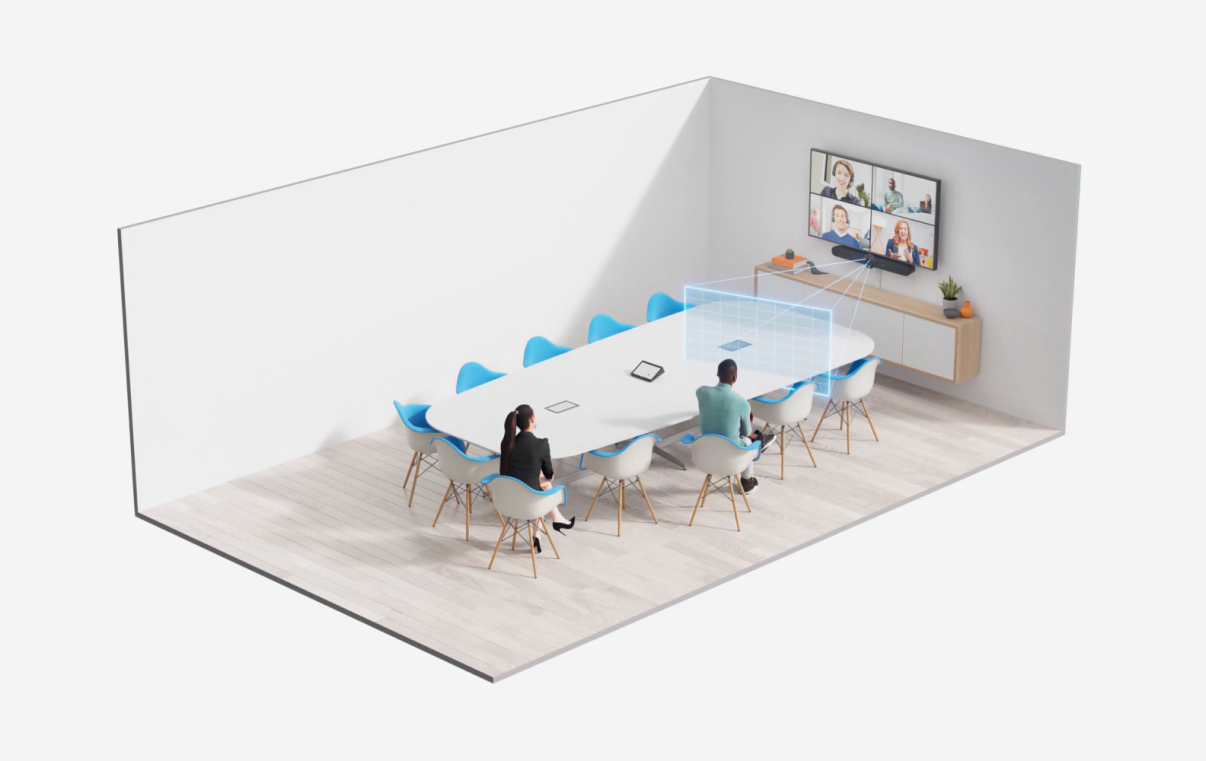
Room Coverage
Room coverage refers to the area within a room that a camera and microphone can effectively record; “total room coverage” is the ability for the camera and mic to capture the entire room
Ensure total room coverage by selecting a camera with an appropriate field of vision (FOV) for the space and seating within each room
Selecting tables that are semi-circular or wider at the end closer to the camera will help ensure more people are included within the camera’s view
Cameras For Small To Medium Rooms
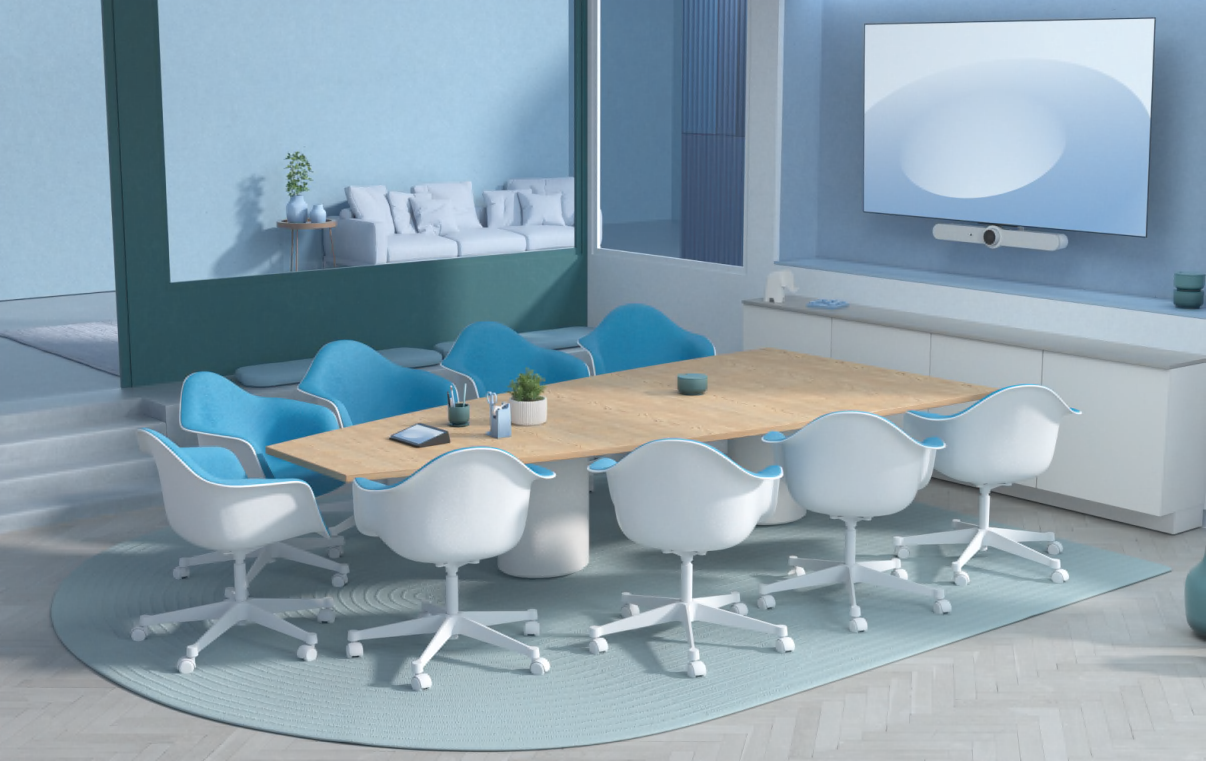
CAMERAS FOR SMALL TO MEDIUM ROOMS
More organizations today are opting for all-in-one video bars for small to mid-sized rooms.
Save space with a compact, all-in-one conference camera with built-in speakers (like Rally Bar and Rally Bar Mini).
Be sure to consider field of view – a wide angle lens ensures everyone can be seen within the tight confines of a smaller room.
Simplify installation – a video bar includes fewer components and cables, making installation faster and cleaner.
Cameras For Large Rooms
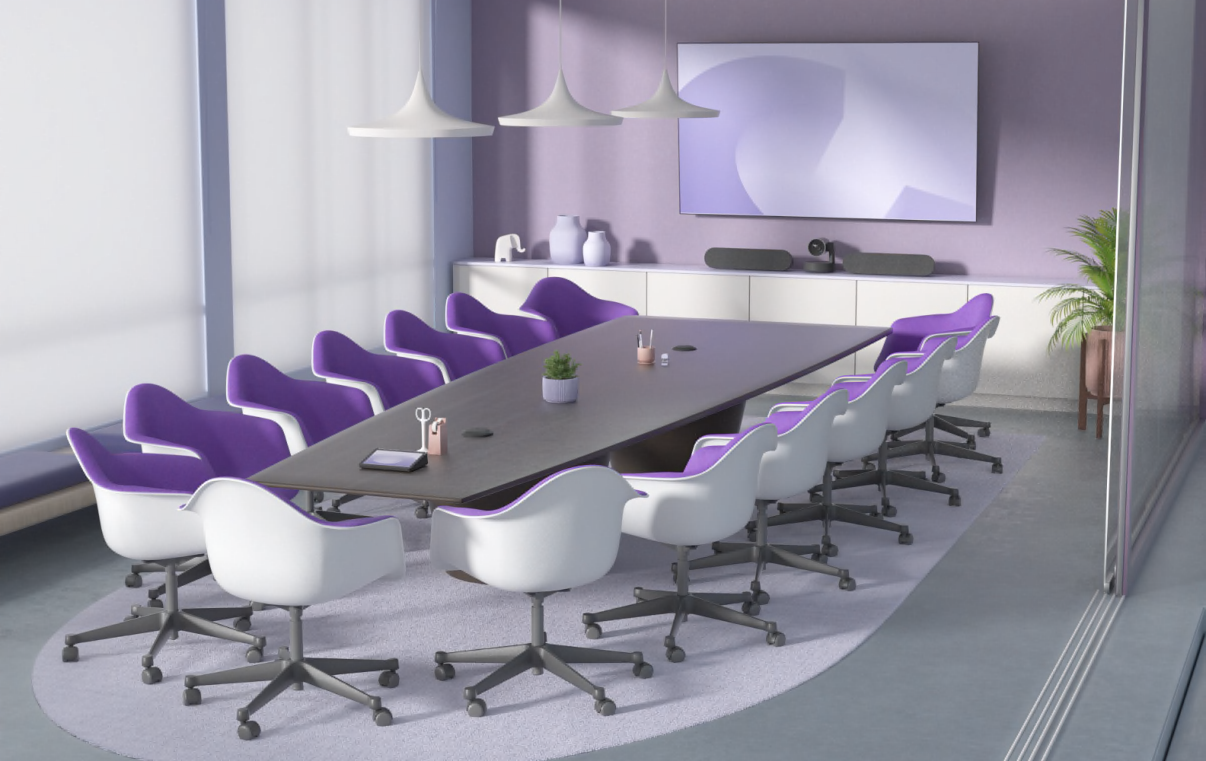
CAMERAS FOR LARGE ROOMS
In large rooms, features like auto-focus and pan/tilt / zoom are paramount.
The conference camera needs the ability to focus on the active speaker and to keep that person in view if he or she stands and writes on a whiteboard, for example.
Combining PTZ with artificial intelligence allows a camera to automatically move the lens and adjust the zoom as people move about.
Whiteboard Cameras
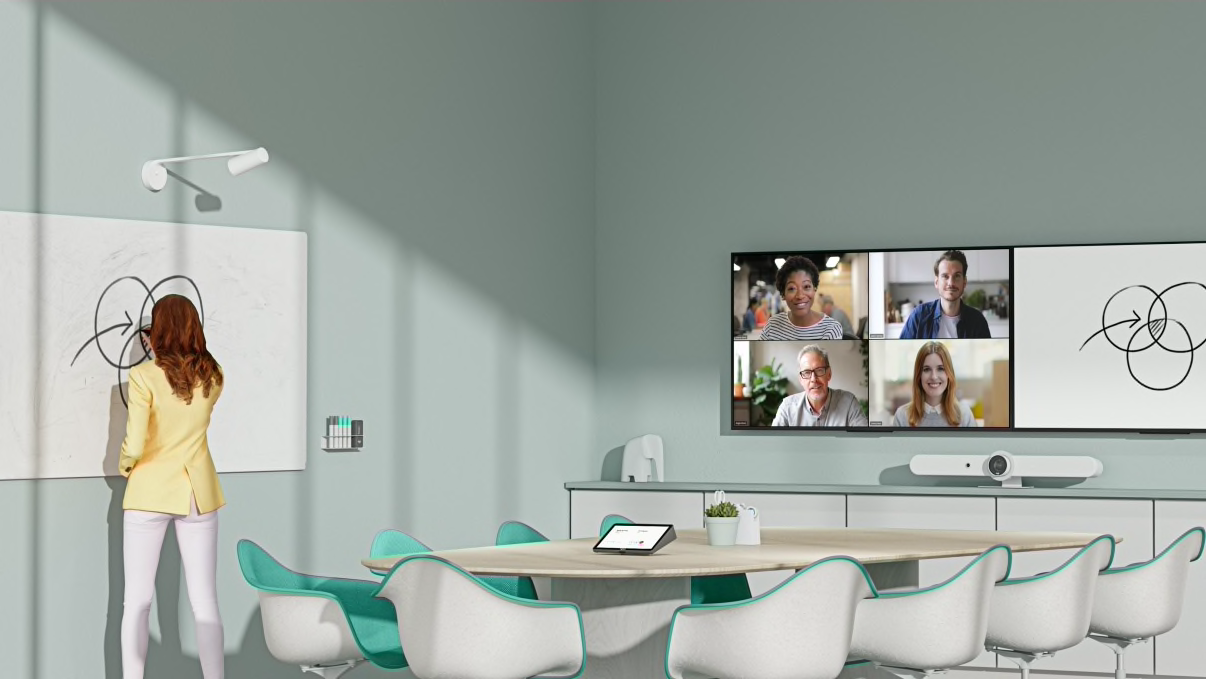
Whiteboard Cameras
The whiteboard is a perfect tool for team brainstorming and collaboration, and nearly every meeting space has one (or more).
However, integrating whiteboards into a video meeting has been a challenge.
New, purpose-built whiteboard cameras solve this problem, and in doing so they create more equitable meetings.
MICS & SPEAKERS
Audio is as important to a successful video conference as the camera. Mics and speakers should be selected to match the room size.
Verify mic pickup range to ensure you’re getting total room coverage with your sound system, including additional mics.
For larger spaces, you may opt for modular audio or microphone expansion packs, which extend coverage to ensure people further from the camera are still heard
Adding mics to a large table also provides meeting attendees with a convenient way to quickly mute the sound
When adding mics to a large room, don’t forget accessories such as mic pod hubs, mic pod mounts, and mic extension cables
Compute
A compute device is required to run a video meeting, but there are different ways for the computer to be integrated into the meeting room.
Video Appliance
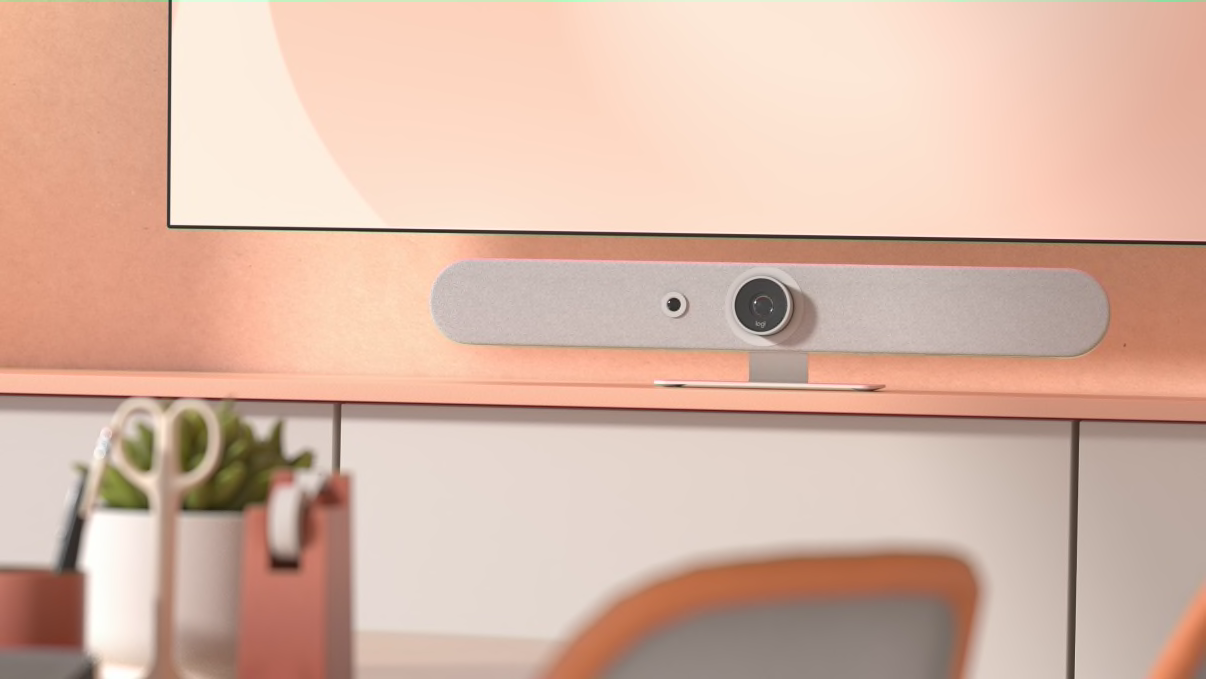
Video Appliance
A video device (usually a video bar) works as an all-in-one appliance with its own compute platform, requiring fewer components, cables, and connection points. Setup is therefore simpler, and the purchase price and TCO are generally lower. There may be limitations regarding which video applications can be run on the device.
Dedicated Computer
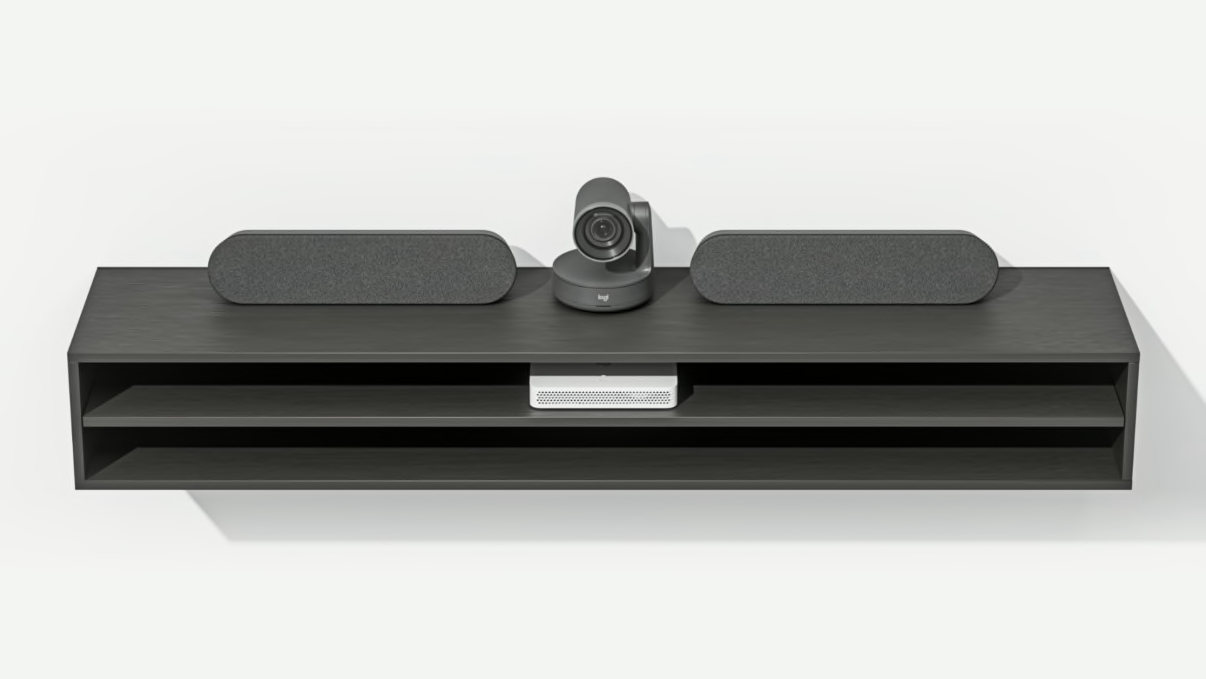
Dedicated Computer
A separate compute device (usually a mini PC) is permanently installed in the meeting room for running video software. This model is more familiar to IT admins and allows them to standardize on their preferred PC manufacturer. The setup and management may be more complex since video and the PC are often managed separately.
BYOD
BYOD
A meeting organizer brings and attaches their laptop to the meeting room’s video conferencing system, typically through a USB cable and runs the video application on the laptop.
There are advantages of each approach, and meeting room designers should consider flexibility, ease of use, and the organization’s long-term needs when choosing a compute mode.
For maximum flexibility, Logitech Swytch lets meeting participants quickly flip from the room’s compute device to a laptop and attend or present over any cloud video service.
Placement
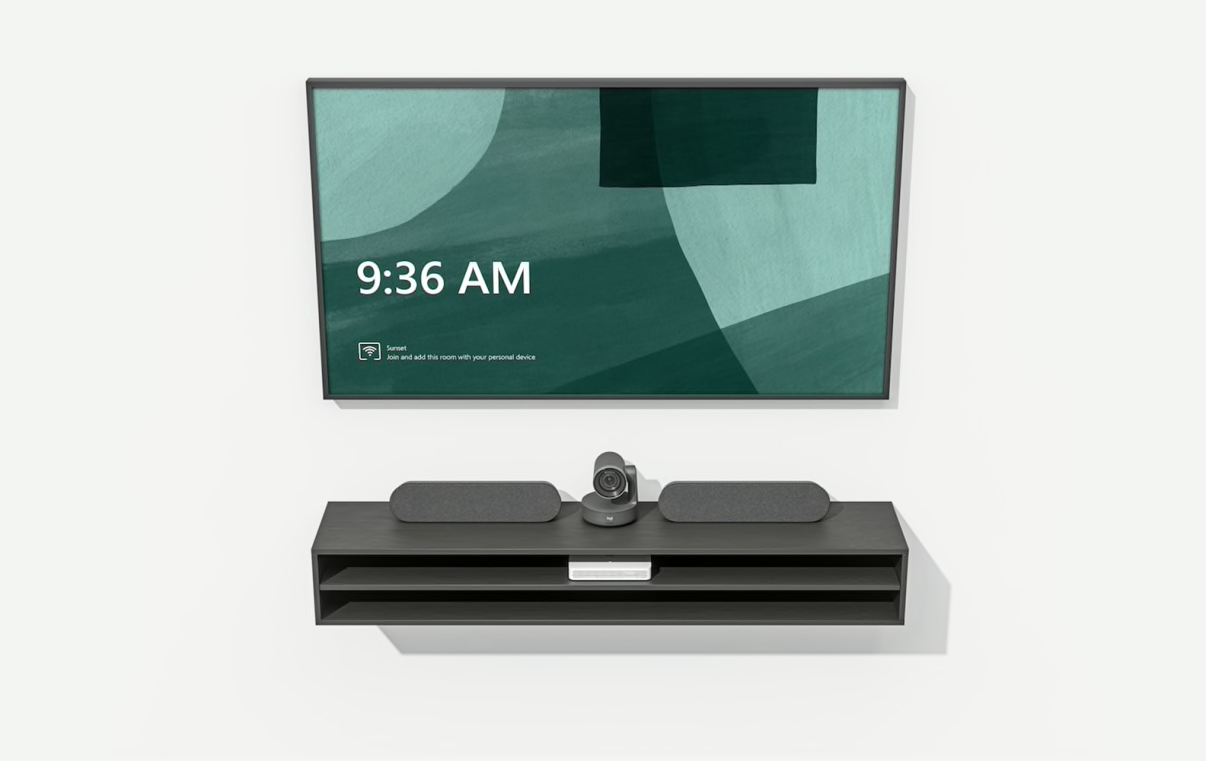
Placement
In rooms with a separate compute device, consider placing the device below the table or behind the wall that the display is mounted to
Position the compute device near the display for proximity to power, Ethernet, and other components to which the computer connects
Because a strong and stable Internet connection is required for quality video calls, a wired Ethernet connection is preferable to Wi-Fi
TOUCH CONTROLLERS
A meeting room touch controller provides a simple, convenient way for employees to start, end, and schedule meetings.
Securely mount the touch controller on the table or to a wall near the meeting participants.
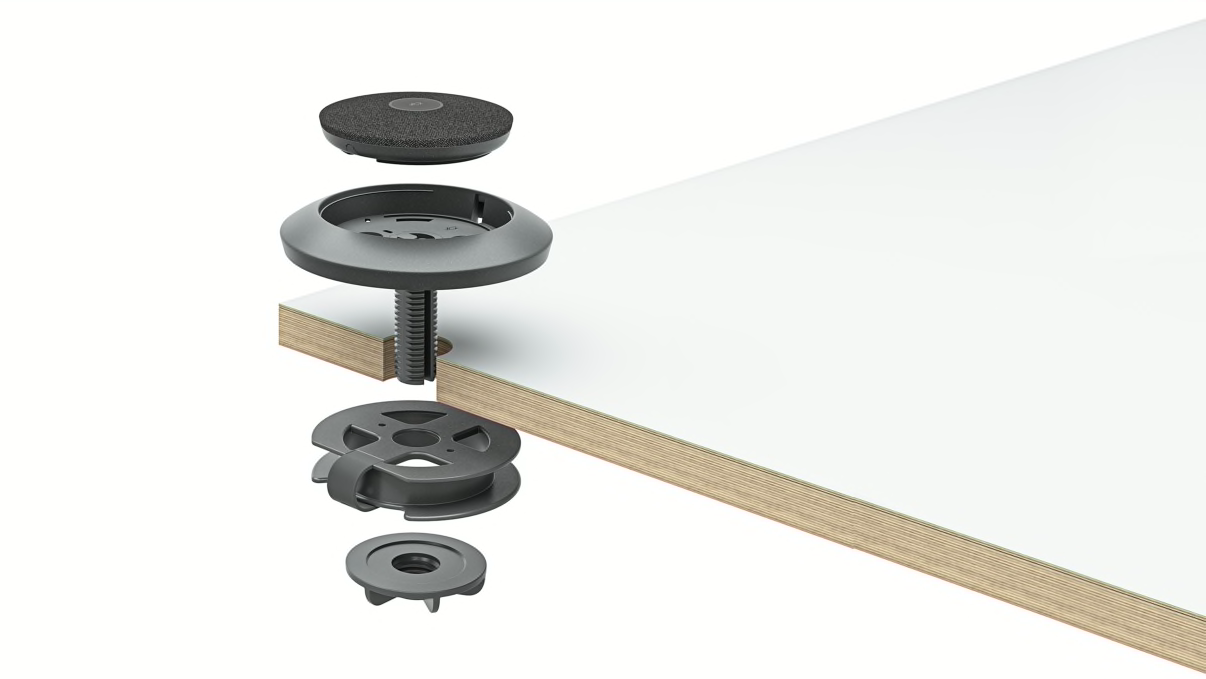
To securely attach the touch controller to a table, use a mounting dock and table grommet, running wiring below the table to the floor.
Some touch controllers like Logitech Tap use a USB cable to connect to a compute device or video appliance, an optional HDMI cable to enable content sharing, and a separate power cable.
Other touch controllers, like the new Logitech Tap IP, use a single Power over Ethernet cable to connect to the network and the meeting, and for power.
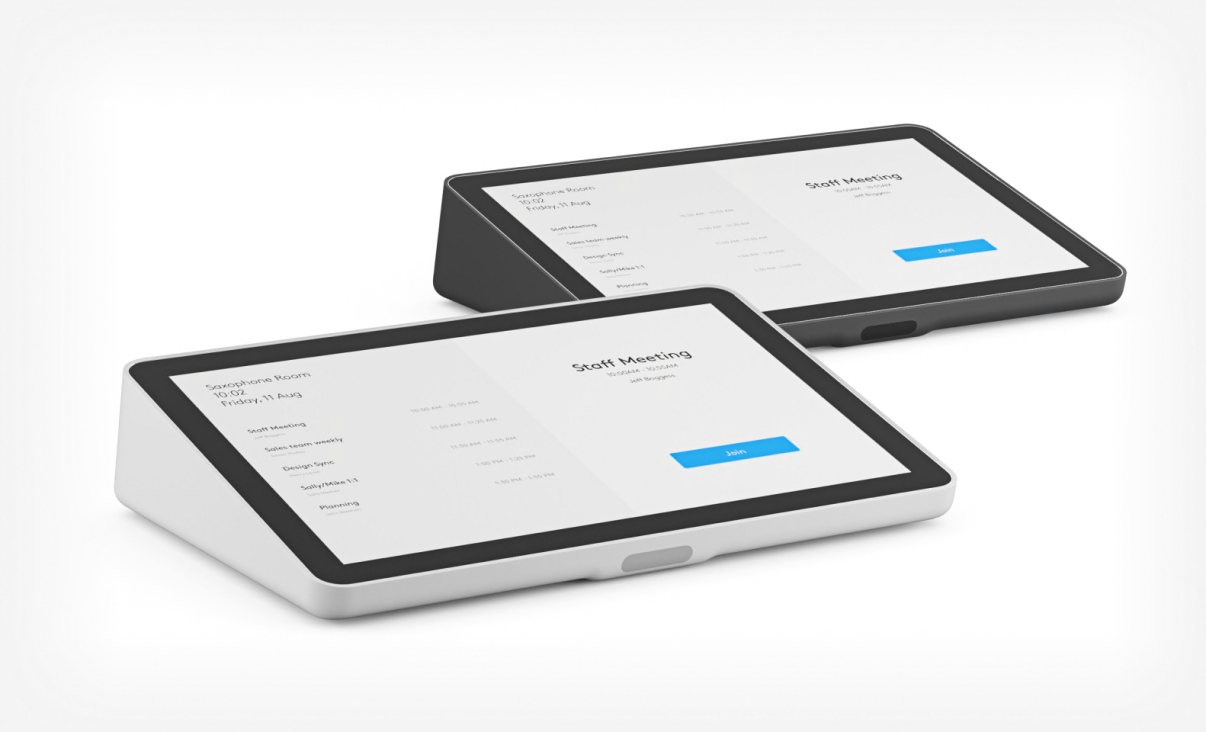
SCHEDULING PANELS
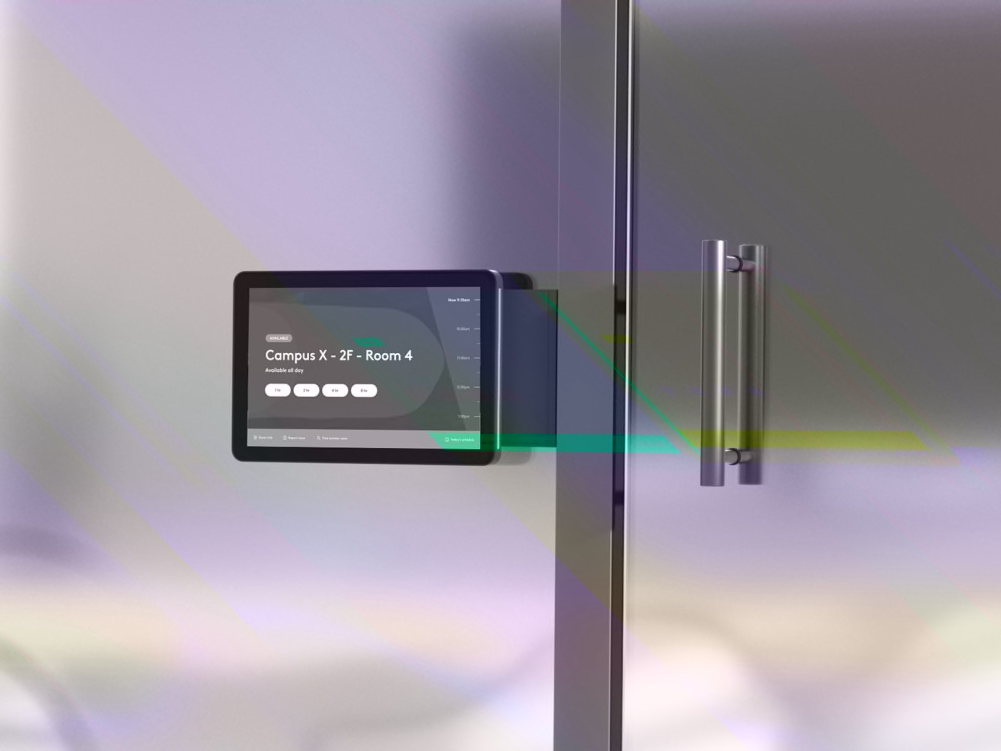
To help employees quickly find their meeting or an available room, organizations have begun adding a scheduling panel to various meeting rooms.
Consider the various surfaces for mounting the scheduling panel and the necessary tools and hardware to facilitate the install.
Some surfaces, like steel or aluminum mullions, may require more specialized assistance or permissions for drilling and mounting.
Ensure that the scheduling panel is mounted at a height and in a way that is accessibility-compliant and can be read from a variety of heights, including for those using wheelchairs.
Some scheduling panels, like Logitech Tap Scheduler, include mounting components and installation hardware to facilitate a fast, easy, yet secure installation.
Cables & Connections
Don’t overlook the importance of cable management: a disorganized jumble of cables and cords can negatively impact user experience. Smart cable management is – or should be – a feature of enterprise-grade room solutions.
Table Grommets
Table Grommets
Use table grommets to allow devices and connections above the table to cleanly pass wires through to the bottom side – both to maintain a clean surface and to hide components like a compute device below the table
Strain Relief
Strain Relief
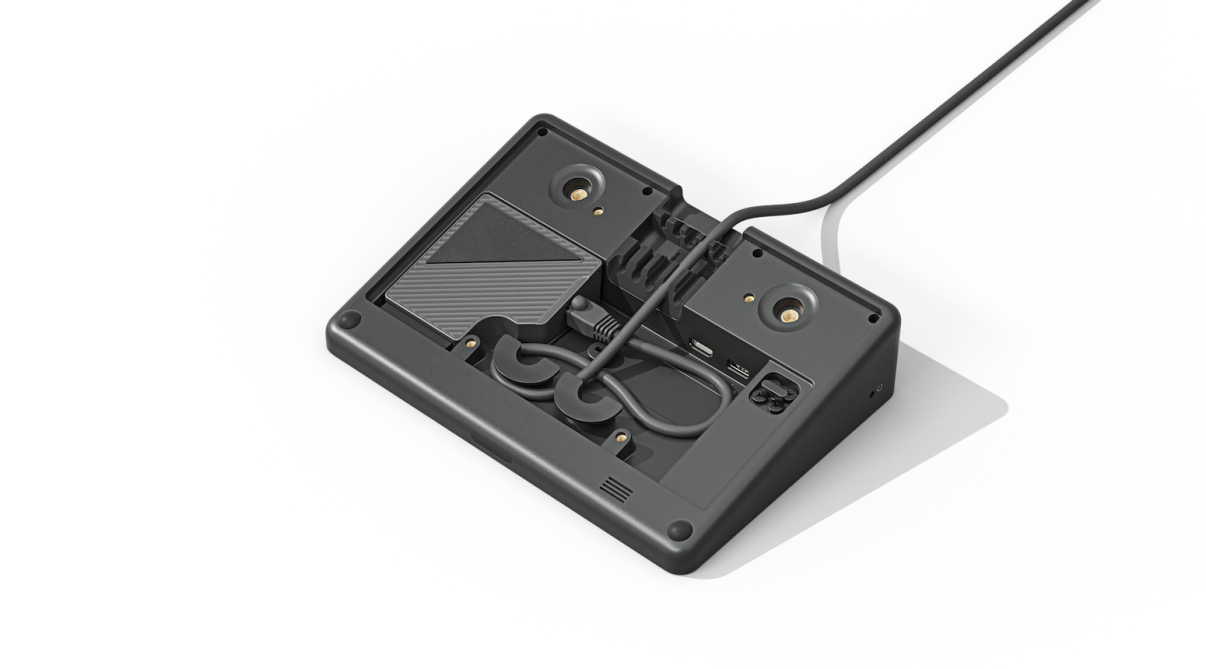
Secure cables mechanically to reduce tension on the cables and their connections to devices
Strain relief is especially important for devices that may be moved around, such as meeting room controllers that are placed on a table top
When installing cable runs, remember to leave slack in the line to allow movement of devices where appropriate
Conduits
Conduits
Install conduits under the floor, above a suspended ceiling, or behind walls to help run cables from different parts of the room to devices
Take care to ensure compliance with applicable fire and building codes
Plenum-rated cable has a special insulation with low-smoke and low-flame characteristics and is typically specified for use in conduits and air-handling spaces
Conduits have a fixed capacity for how many cables they can accommodate
Raceways
Raceways
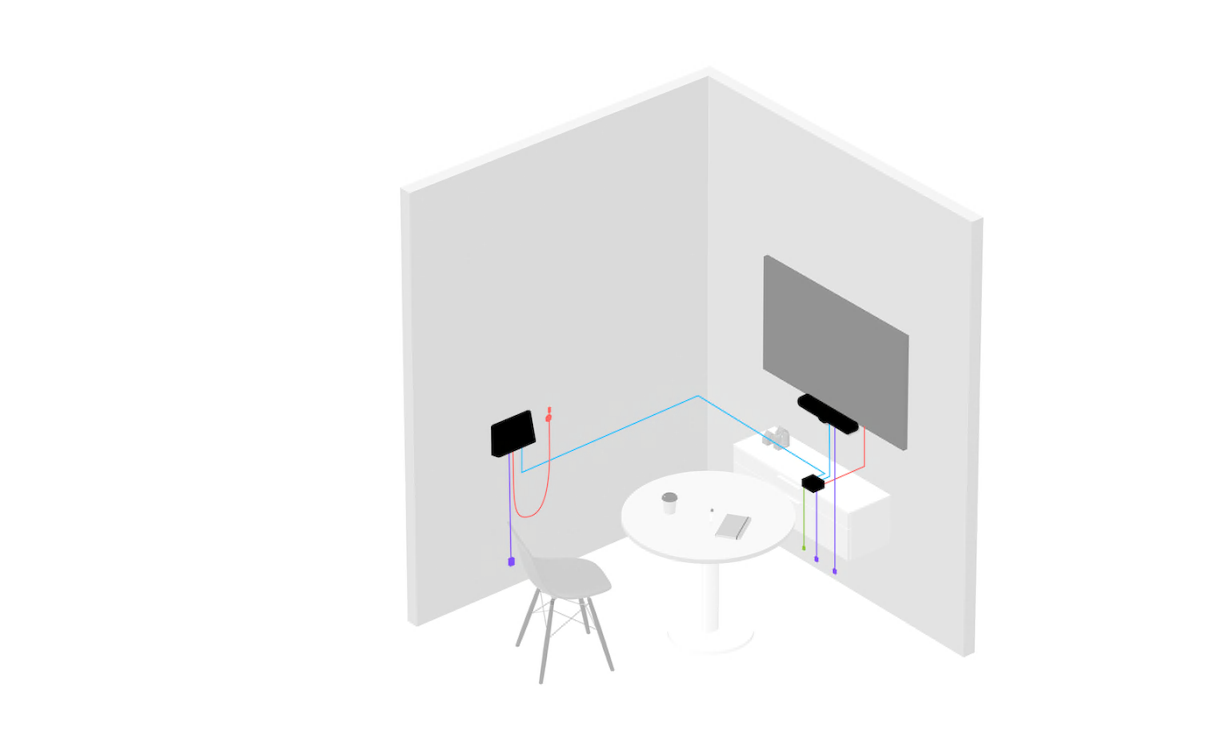
Where space for a concealed conduit is unavailable, consider above-floor raceways to deliver cables from wall to table while reducing tripping hazards
Compared to running cables under the carpet, cable channel raceways provide greater flexibility for adding, removing, or modifying cable runs if the setup needs to change
Cable Retention
Cable Retention
Well-designed room solutions and components include cable retention features to reduce problems – and IT tickets – due to loose or disconnected cables
In situations where power or Ethernet outlets have been installed in the floor, consider using cable ties to secure connectors and power cords to table legs
Various cable retention brackets, Velcro, and zip tie solutions are available from third-party providers
Cable Extenders
Cable Extenders
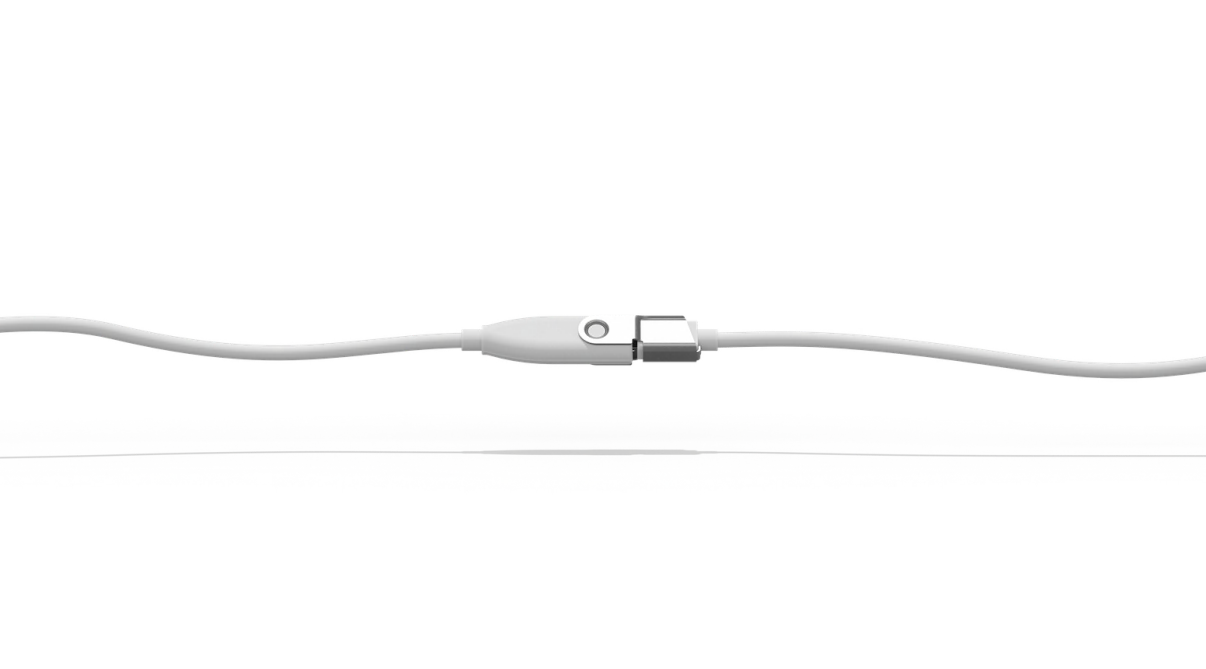
When required in larger meeting spaces, use cable extenders to connect devices that are far apart from each other.
Browse Categories: