Pangea temporary hotfixes here
步骤1/4
![步骤 1/4 插图](https://resource.logitech.com/w_1800,h_1800,c_limit,q_auto,f_auto,dpr_1.0/d_transparent.gif/content/dam/logitech/en/setup/mx-setup/1-of-4.png?v=1)
翻转鼠标并启动
将鼠标底部的开关拨至启动位置。
如果没电,请尝试使用随附的线缆插入鼠标。
![翻转鼠标并打开开关](https://resource.logitech.com/w_1800,h_1800,c_limit,q_auto,f_auto,dpr_1.0/d_transparent.gif/content/dam/logitech/en/setup/mx-setup/bluetooth-mouse-1.png?v=1)
步骤2/4
![步骤 2/4 插图](https://resource.logitech.com/w_1800,h_1800,c_limit,q_auto,f_auto,dpr_1.0/d_transparent.gif/content/dam/logitech/en/setup/mx-setup/2-of-4.png?v=1)
LED 将快速闪烁
如未闪烁,请按住(鼠标底部的) Easy Switch™ 按钮 3 秒钟。指示灯开始闪烁时,表示鼠标已准备好与电脑配对。
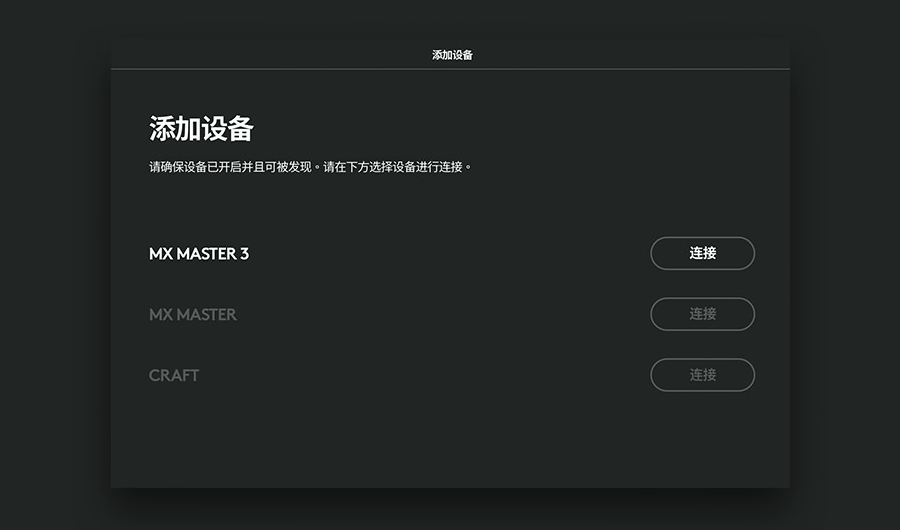
![鼠标底部显示闪烁的 LED](https://resource.logitech.com/w_1800,h_1800,c_limit,q_auto,f_auto,dpr_1.0/d_transparent.gif/content/dam/logitech/en/setup/mx-setup/bluetooth-mouse-2.png?v=1)
![在电脑上完成配对](https://resource.logitech.com/w_1800,h_1800,c_limit,q_auto,f_auto,dpr_1.0/d_transparent.gif/content/dam/logitech/zh/setup/mx-setup/bluetooth-mouse-3.png?v=1)
建议的步骤4/4
![步骤 4/4 插图](https://resource.logitech.com/w_1800,h_1800,c_limit,q_auto,f_auto,dpr_1.0/d_transparent.gif/content/dam/logitech/en/setup/mx-setup/4-of-4.png?v=1)
安装 Logi Options+
Logi Options+ 是一款功能强大且方便易用的应用程序,让您可以自定义罗技鼠标和键盘的工作方式,增强使用体验。
- 步骤 1
- 步骤 2
- 步骤 3
- 步骤 4